
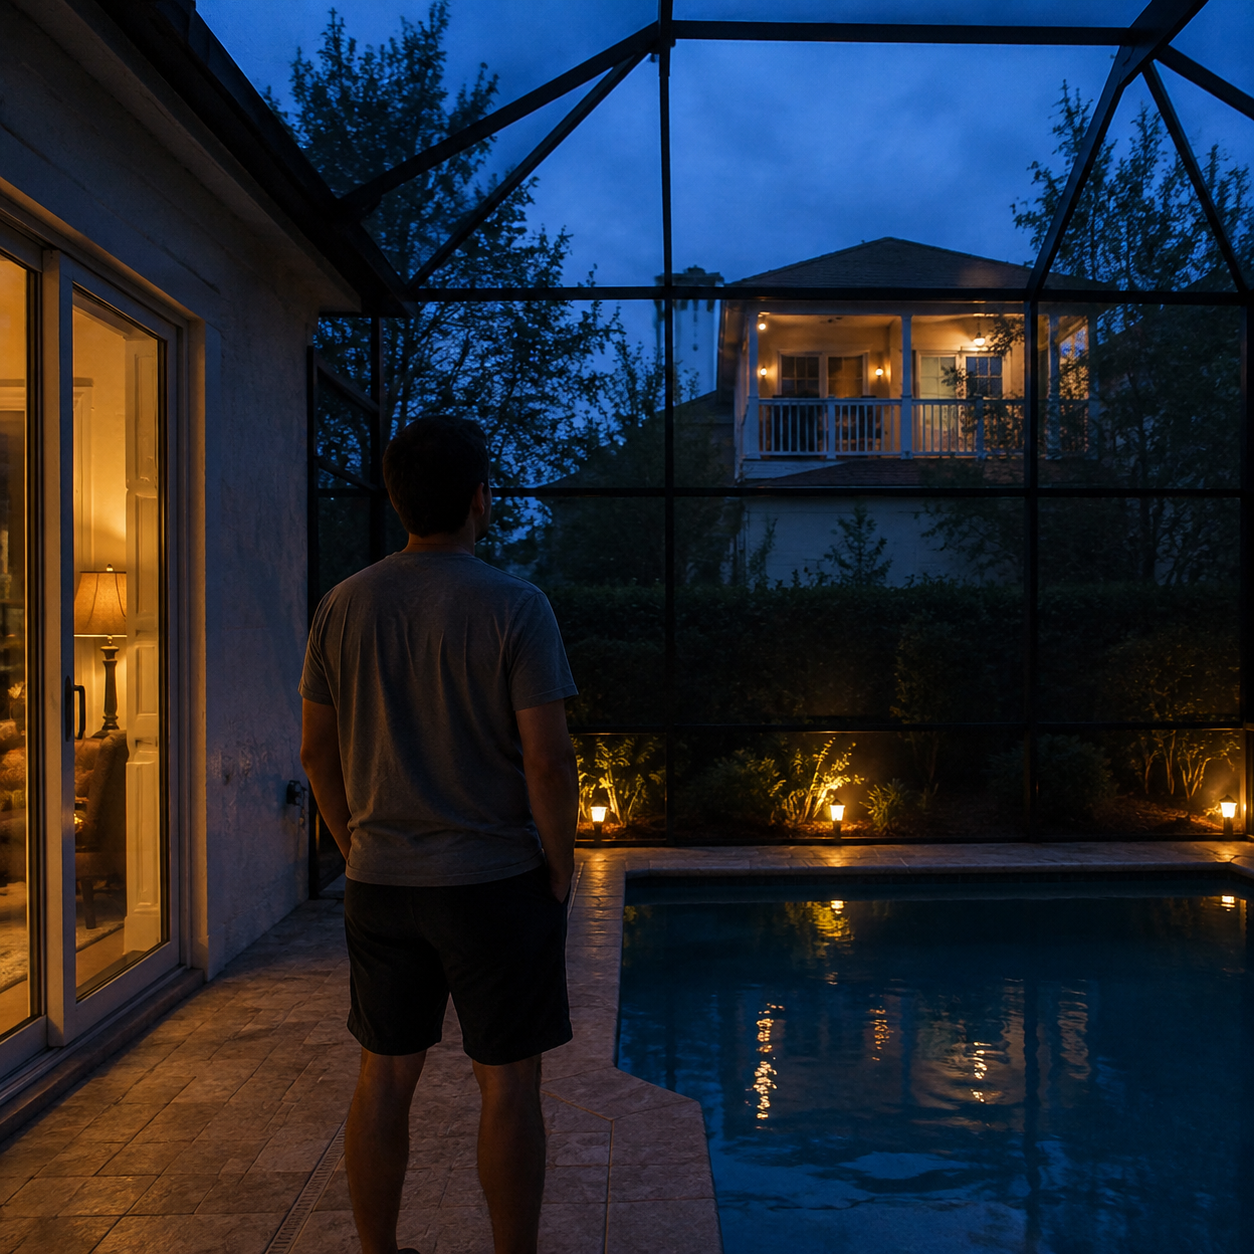
A screened pool can feel surprisingly exposed when a neighboring window overlooks the deck, a new balcony faces the seating area, or evening lights turn the enclosure into a visible stage. The quick fix is often to cover an entire wall with dense fabric, curtains, or tall plants. That may block the view, but it can also crowd the gate, trap debris, alter wind loads, hide damage, and make supervision harder.
Useful Pool Enclosure Designs solve the specific sightline instead of making every panel opaque. The goal is to interrupt the view from one or two problem angles while preserving air movement, barrier function, drainage, doors, equipment access, and a clear view of the water.
1. Map the View from Both Properties
Start at the pool’s main seating area, steps, shallow end, house doors, and frequently used deck corners. Photograph what can be seen through the screen at standing and seated height. Then walk the accessible parts of your property outside the enclosure and record which neighboring windows, balconies, sidewalks, or yards align with those positions.
Use a simple plan to draw each unwanted sightline. Do not enter neighboring property or use a drone to investigate private spaces. You need only enough information to locate the narrow band where a screen, planting layer, or panel change could interrupt the view.
2. Identify Which Parts Serve as a Pool Barrier
Before adding anything, ask the appropriate local authority or qualified pool-enclosure professional whether the enclosure, house doors, or interior gates form part of the required barrier. A decorative privacy treatment cannot replace compliant barrier components.
The U.S. Consumer Product Safety Commission recommends layers of protection, including barriers that completely surround pools and self-closing, self-latching gates. If the house forms one side of the barrier, additional protections may be appropriate. Never cover, bypass, lower, or hold open required hardware to gain privacy. CPSC drowning-prevention guidance
3. Observe Sun, Breeze, and Rain Before Choosing Material
Watch the enclosure during morning and afternoon sun, ordinary breezes, wind-driven rain, and nighttime lighting. Note where the deck stays damp, where leaves accumulate, and which screen walls currently provide useful cross-breezes. A privacy product that looks comfortable in a showroom may behave differently on a sunny, windy pool deck.
Use temporary weighted markers placed safely inside the deck to compare air movement; remove them after testing. Do not attach ribbons, fabric, or test panels to the enclosure frame unless the contractor approves the method. Weather observations describe ordinary conditions rather than structural design loads.
4. Compare Real Samples at the Problem Angle
Privacy mesh varies in openness, color, reflectance, airflow, visibility, cleaning needs, attachment, and wind response. Obtain small samples and hold them on an independent frame at the actual viewing angle. Check from both sides in daylight and again after the pool and house lights are on.
Ask the installer which materials are compatible with the existing frame, screen bays, spline, fasteners, and local design loads. Do not rely on a product name or privacy percentage alone; a sample viewed straight on can behave differently when seen from above or under backlighting.
5. Screen Only the Necessary Bays
Once the sightline is mapped, cover the smallest practical group of wall bays rather than every enclosure surface. Keep ordinary open mesh on other sides so the pool retains views, light, and air movement. Stop the denser material before gates, drains, service panels, and frequently inspected joints.
Have the enclosure professional define panel edges and attachment details. Layering loose fabric over existing screen can rub in wind, hide tears, collect water, and place loads on framing that was not evaluated for the change.
6. Consider an Offset Screen Outside the Enclosure
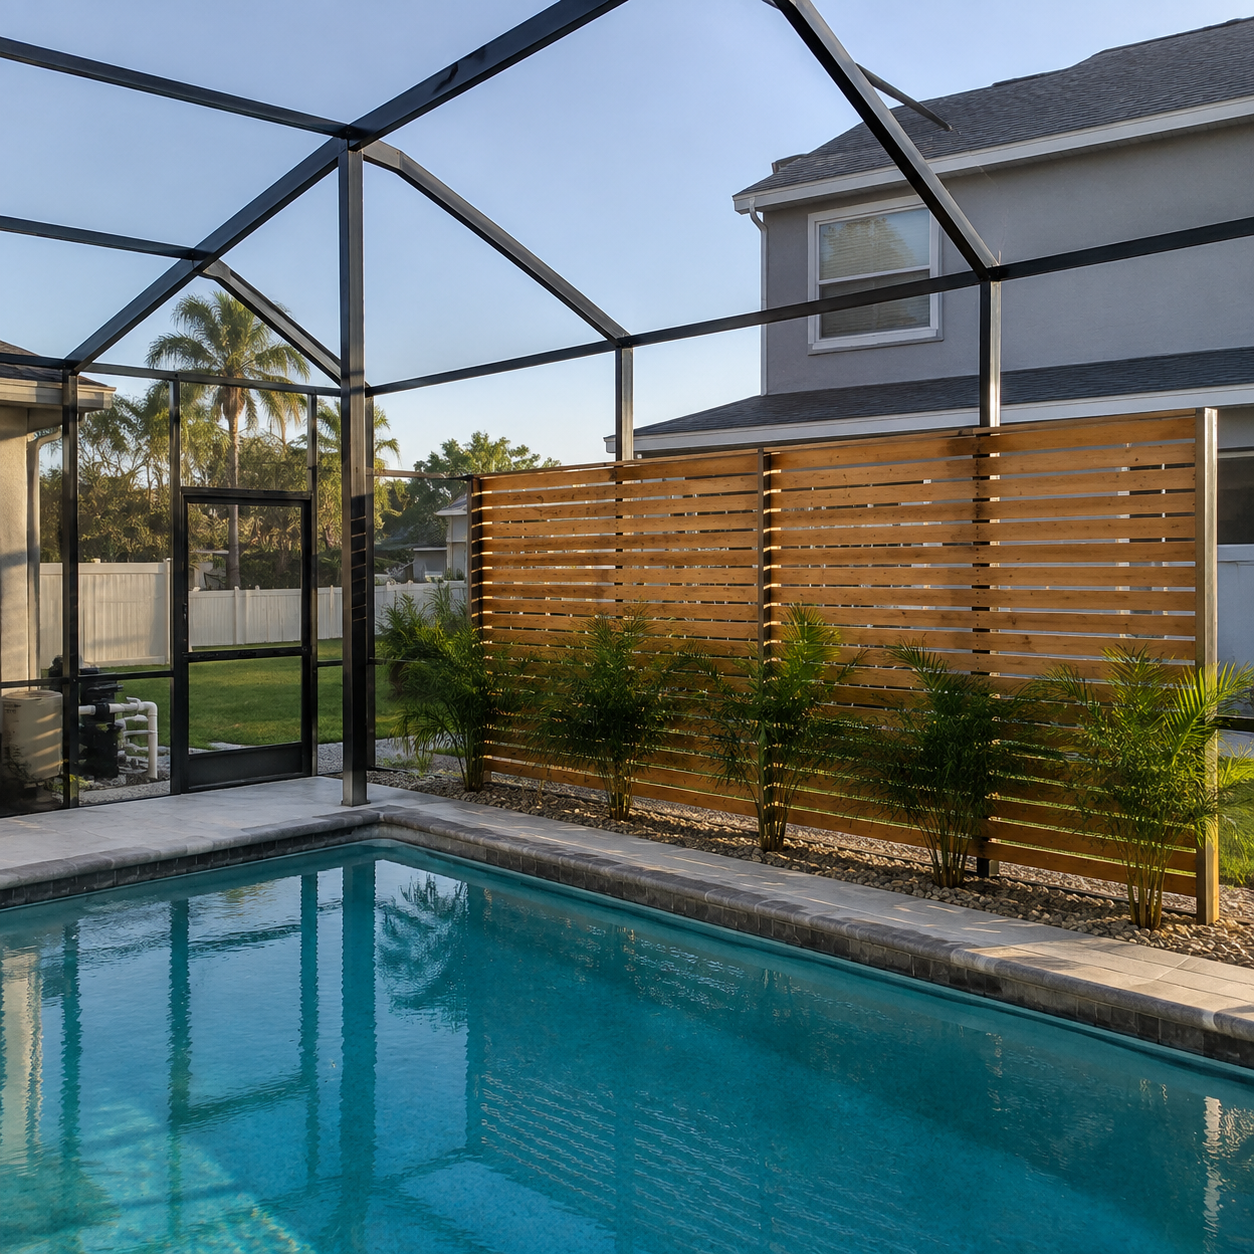
A short freestanding screen aligned with the neighboring window may block the view before it reaches the pool structure. Set outside the enclosure with open space around it, the screen can leave the original mesh, gate, and deck circulation untouched.
The screen still needs suitable foundations, wind design, drainage, property-line clearance, and maintenance access. In the United States, contact 811 before digging for posts and confirm that all participating utilities have responded. Private irrigation, pool, and lighting lines may require separate locating. 811 Before You Dig
7. Use Plants as a Separate Landscape Layer
Plants can soften a direct view outside the enclosure without becoming part of the screen wall. Choose species for the regional climate, sun, soil, drainage, roots, mature width, litter, and maintenance level. A staggered group of compact shrubs or grasses may work better than one dense hedge.
Keep vegetation away from doors, latches, anchors, roof drainage, screen surfaces, and equipment routes. Avoid thorny plants in service areas and anything that creates an easy climbing aid beside a required barrier. Plan for mature growth rather than nursery size.
8. Keep Doors, Supervision Views, and Rescue Equipment Visible
Release each enclosure door from several open positions and confirm that it closes and latches without help. Stand at the primary supervision location and check that the privacy treatment does not conceal the pool steps, shallow area, gate, or a person in the water.
CPSC guidance also emphasizes keeping rescue equipment and a phone near the pool. Do not store a reaching pole, life ring, alarm, or emergency route behind privacy panels, curtains, furniture, or planters. CPSC home-pool barrier guidelines
9. Test Privacy Again After Dark
At night, bright interior lighting can reduce daytime privacy and create reflections that obscure the water. View the enclosure from the property’s legal exterior positions while ordinary pool and house lights are on. Check whether the selected panel still interrupts the neighboring sightline.
Use shielded outdoor lighting aimed at walking surfaces rather than flooding the screen wall. Electrical products and installation around pools must suit the location and applicable rules. Do not create darker blind spots merely to make the enclosure less visible.
10. Plan Cleaning and Storm Inspection
Denser mesh and solid panels may show pollen, water spots, algae, or dust more readily than open screen. Follow the material and enclosure manufacturer’s cleaning guidance, using compatible tools and safe ground-level access. Keep runoff out of the pool and drains where required.
After storms, inspect panel edges, spline, fasteners, framing, gates, drains, and nearby landscaping from both sides. Do not use a pressure washer or improvised patch unless the manufacturer permits it. A loose panel, shifted screen, damaged frame, or door that no longer latches deserves prompt professional attention.
Privacy-Focused Pool Enclosure Checklist
- Map unwanted views at seated and standing height from key pool locations.
- Identify every enclosure component that serves as a safety barrier.
- Observe ordinary sun, breeze, rain, damp areas, and nighttime lighting.
- Compare real material samples from both sides at the actual angle.
- Use denser material only in the bays needed to interrupt the view.
- Consider a separate offset screen rather than loading the enclosure.
- Select plants by mature size and preserve gates, anchors, and access.
- Keep supervision views, rescue equipment, and closing doors unobstructed.
- Test the completed privacy treatment again after dark.
- Clean and inspect denser panels according to product guidance.
Privacy does not require turning a screened pool into an opaque room. One carefully aligned panel, a short exterior screen, or a restrained planting layer may solve the strongest sightline while leaving the rest of the enclosure open. When Pool Enclosure Designs protect airflow, gates, visibility, and maintenance access, the pool can feel more private without making everyday safety harder to manage.
✅ Last Updated on September 28, 2026 by BIG Smart Team